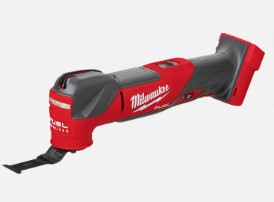
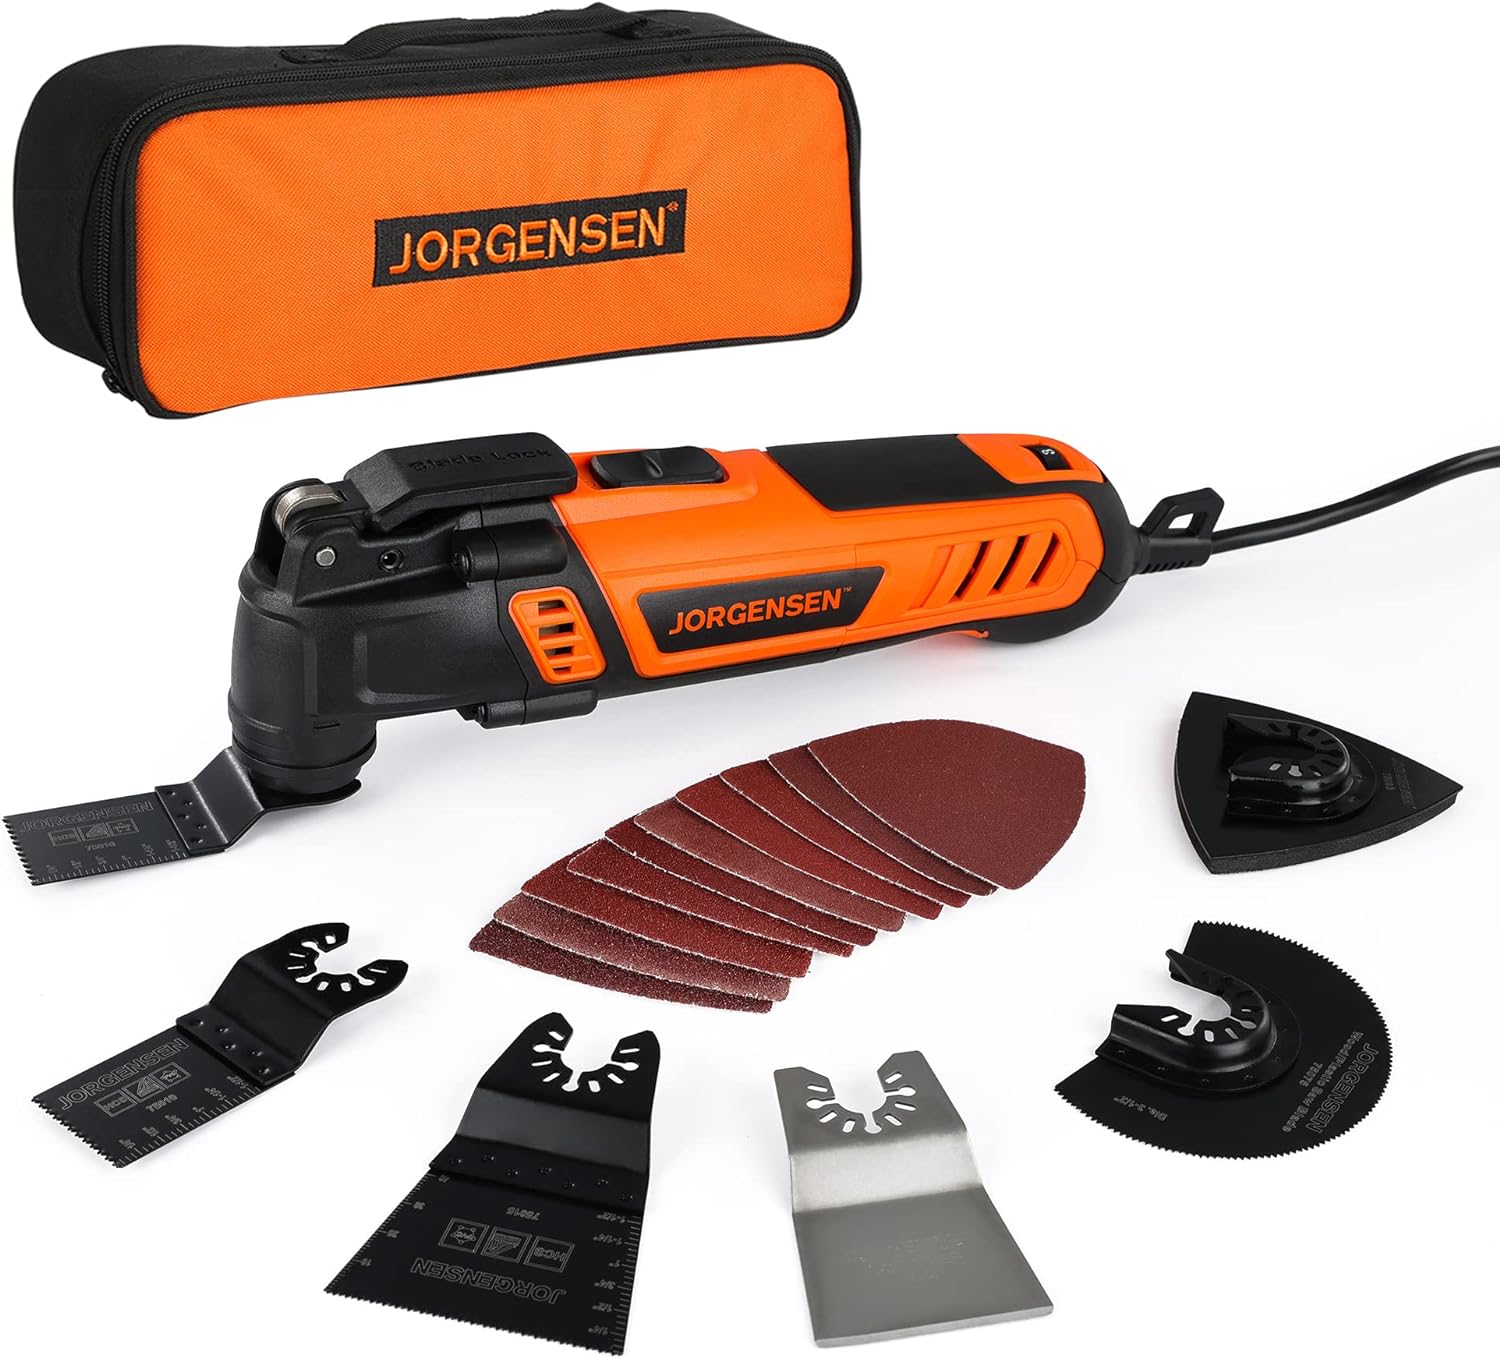
Are you wondering how to use an oscillating multi-tool? Look no further! This article will guide you through the ins and outs of utilizing this versatile tool. Whether you’re a DIY enthusiast or a professional, understanding the different functions and applications of an oscillating multi-tool will empower you to tackle a wide array of tasks with ease. From cutting, sanding, and scraping to trimming and polishing, this handy tool can do it all. So, let’s jump straight into the world of oscillating multi-tools and discover the endless possibilities that await you!
Safety Precautions
Wear protective gear
When using an oscillating multi-tool, it is crucial to prioritize your safety. Start by wearing appropriate personal protective equipment (PPE). This includes safety goggles or a face shield to protect your eyes from flying debris, a dust mask to avoid inhaling particles, and ear protection to reduce noise exposure. Additionally, wearing work gloves can provide extra grip and protect your hands from cuts or abrasions.
Turn off and unplug the tool before changing accessories
Before making any adjustments or changing attachments on your oscillating multi-tool, ensure that it is turned off and unplugged from the power source. This precautionary measure eliminates the risk of accidentally starting the tool or causing an electrical shock while handling the accessories.
Avoid loose clothing or jewelry
To prevent accidents or entanglement hazards, avoid wearing loose-fitting clothing or jewelry while operating the oscillating multi-tool. Loose fabric or accessories can get snagged in the tool’s moving parts, leading to injuries. Opt for snug-fitting attire that does not dangle or obstruct your movement.
Keep children and pets at a safe distance
When using power tools, it is imperative to create a safe work environment by keeping children and pets away from the workspace. Oscillating multi-tools have fast-moving blades or attachments that can cause severe injuries if mishandled. Ensure that you have a designated area where curious little ones or pets cannot accidentally come into contact with the tool.
Use proper ventilation
Using an oscillating multi-tool in a well-ventilated area is crucial for your safety. Some tasks, such as sanding or cutting certain materials, may produce dust, fumes, or small particles that can be harmful if inhaled. To minimize the risk of respiratory issues, work in a space with open windows or use a fan to improve air circulation. Consider using a dust collection system or wearing a respirator for added protection.
Understanding the Oscillating Multi-tool
Know the different parts of the tool
Before you start using an oscillating multi-tool, take the time to familiarize yourself with its different parts. The tool consists of a housing, a motor, a switch, a handle, and various attachments. Understanding how these components work together will allow you to use the tool effectively and safely.
Familiarize yourself with the controls and adjustments
Every oscillating multi-tool comes with controls and adjustments that allow you to customize your usage based on the task at hand. Take a moment to read the tool’s user manual and understand how to operate the power switch, speed controls, and any other adjustable settings. Familiarize yourself with the tool’s ergonomics and ensure a comfortable grip.
Understand the available attachments and their uses
Oscillating multi-tools offer a wide range of attachments that cater to different tasks. These attachments include cutting blades, sanding pads, scraping attachments, and more. Before starting any project, familiarize yourself with the various attachments available for your tool and their specific uses. Understanding which attachment to use for each task will ensure optimal results and extend the lifespan of your tool.
Learn about the power sources and battery management
Most oscillating multi-tools either have a cord that needs to be plugged into a power outlet or are battery-powered. If your tool operates on batteries, it is essential to familiarize yourself with the charging process and battery management tips. Take note of the battery’s charging time, the estimated runtime, and any indicator lights or notifications that provide information on the battery’s status. This knowledge will enable you to work efficiently without any unexpected power disruptions.
Choosing the Right Attachment
Consider the task at hand
When deciding on which attachment to use, consider the specific task you need to accomplish. Oscillating multi-tools excel in various applications such as cutting, sanding, scraping, and grout removal. By understanding the task requirements, you can select the appropriate attachment for optimal performance.
Use the appropriate blade for cutting
To achieve clean and precise cuts, it is crucial to choose the right blade for the material you are working with. Whether it’s wood, metal, or plastic, using a blade specifically designed for that material will provide the best results. Blades come in various widths, lengths, and tooth configurations, so make sure to select the one that suits your cutting needs.
Select the right sanding pad for sanding and smoothing
When it comes to sanding and smoothing surfaces, the oscillating multi-tool offers versatility. Depending on the finish you desire, select the appropriate sanding pad. Sanding pads are available in different grits, from coarse to fine. Coarser grits are ideal for removing material quickly, while finer grits give a smoother finish. Consider the condition of the surface and the level of abrasion needed to achieve your desired result.
Choose the correct scraping attachment for grout or adhesive removal
Scraping attachments are incredibly handy for tasks such as grout or adhesive removal. Different scraping attachments are designed for specific applications, so choose one that matches your project requirements. Ensure the scraping attachment is securely fastened to the tool, allowing efficient and effective removal without damaging the underlying surface.
Determine the suitable cutting depth for plunge cutting
Plunge cutting involves making cuts in the middle of a material rather than starting from an edge. When performing plunge cuts, it is necessary to adjust the depth to avoid overcutting or undershooting. Consult the tool’s user manual for guidance on setting the cutting depth and use reference marks or guidelines to guide your cuts accurately.
Preparing the Work Area
Clear the workspace of any obstacles
Before embarking on a project using an oscillating multi-tool, ensure that your workspace is clear of any potential hazards or obstacles. Remove any objects or debris that could interfere with your work or get in the way of the tool’s movements. A clutter-free workspace minimizes accidents and allows you to work more efficiently.
Secure the material to be worked on
To prevent movement or slippage during the cutting or sanding process, secure the material you are working on. Depending on the size and nature of the material, you can use clamps, vises, or even adhesive tape to hold it firmly in place. This precaution adds stability while guiding the oscillating multi-tool, resulting in more accurate and controlled cuts or sanding.
Use tape or clamps to prevent vibrations
Oscillating multi-tools can generate vibrations during operation, which may affect the precision of your work or cause discomfort. To minimize vibrations, consider using masking tape along the edges of your cutting path or clamping down the material, if possible. These simple techniques help dampen vibrations, leading to smoother and more controlled cutting or sanding.
Protect adjacent surfaces
When working with an oscillating multi-tool, take into account the nearby surfaces that could be affected by debris, scratches, or accidental slips. Use appropriate protective measures such as masking tape, plastic sheets, or drop cloths to shield adjacent surfaces from any potential damage. This precaution helps maintain a tidy work area and prevents unwanted marks or scratches.
Basic Cutting Techniques
Mark the cutting area
Before making any cuts, clearly mark the area where you intend to cut. Use a pencil or a marking tool to create a visible line or guideline that helps you maintain accuracy during the cutting process. Taking the time to mark your cutting path ensures that the end result matches your intentions.
Start with a shallow cut
To maintain control and prevent excessive force or kickback, start with a shallow cut. Ease the oscillating multi-tool into the material, allowing the blade to gradually penetrate. Starting shallow also helps you gauge the resistance and adjust your technique, preventing any accidental damage or splintering.
Move the tool in a controlled manner
When cutting, ensure that you move the oscillating multi-tool in a controlled and deliberate manner. Avoid sudden or jerky movements that can compromise your precision or lead to accidents. Maintain a steady, consistent motion, staying aligned with the marked cutting path. This technique allows the blade to cut smoothly and accurately through the material.
Apply light pressure and let the tool do the work
When using an oscillating multi-tool, remember that excessive force is not necessary. Apply light pressure and let the tool’s blades or attachments do the work for you. The oscillating motion, combined with the correct attachment, is designed to efficiently cut through various materials. Forcing the tool or using excessive pressure can cause unnecessary wear and tear on the blades and may lead to accidents or an unsatisfactory outcome.
Avoid excessive heat buildup
Certain cutting applications can generate heat due to friction between the blade and the material. Prolonged exposure to heat can not only damage the tool but also pose a safety risk. To prevent excessive heat buildup, periodically pause during the cutting process to allow the blade to cool down. This practice not only extends the life of the blade but also reduces the risk of injury or damage to the material.
Sanding and Grinding Tips
Use the appropriate grit sandpaper for the desired finish
When sanding with an oscillating multi-tool, the selection of the right sandpaper is crucial. Sandpaper comes in different grits, ranging from coarse to fine. Coarser grits are ideal for rapid material removal, while finer grits provide a smoother finish. Determine the desired finish and choose the appropriate sandpaper accordingly.
Move the tool in a back-and-forth or circular motion
To achieve an even and consistent finish when sanding, move the oscillating multi-tool in a back-and-forth or circular motion. This motion helps prevent uneven wear on the sanding pad, ensuring an efficient sanding process. Maintain a controlled pace and avoid rushing to achieve the desired level of smoothness.
Apply even pressure and avoid tilting the tool
When sanding, apply even and consistent pressure to the tool throughout the process. Uneven pressure can cause uneven sanding or result in excessive wear on specific areas of the sanding pad. Additionally, avoid tilting the tool excessively, as this can lead to an uneven distribution of pressure and an inconsistent finish on the work surface.
Check the work surface regularly for desired smoothness
As you sand, regularly check the work surface to assess the smoothness and progress. This helps you identify any areas that may require additional attention or finer grit sandpaper. Adjust the sanding technique or change the sandpaper as needed to achieve the desired level of smoothness or surface texture.
Use caution when sanding near edges
When sanding near edges or corners, exercise caution to prevent accidental damage to adjacent surfaces. The oscillating motion of the tool may cause it to come into contact with unintended areas, leading to chipping, gouging, or scratching. To safeguard against such incidents, employ a delicate touch and focus on maintaining control and precision.
Scraping and Removing Materials
Position the scraping attachment at the proper angle
For effective scraping or material removal, position the scraping attachment at the correct angle. Understanding the appropriate angle helps maximize efficiency and prevent unnecessary strain on both the tool and the user. Experiment and find the optimal position that allows the attachment to make maximum contact with the material while minimizing resistance.
Apply consistent pressure to remove grout, adhesive, or paint
When using a scraping attachment to remove grout, adhesive, or paint, apply consistent pressure. This ensures that the attachment effectively removes the targeted material without unnecessary strain or damage. Avoid using excessive force, as it may lead to premature wear of the attachment or unintentional damage to the underlying surface.
Avoid damaging the underlying surface
While scraping, it is essential to avoid damaging the underlying surface. Maintain control and use a gentle, steady touch to prevent unintended scratches or gouges. If necessary, place a protective barrier, such as masking tape, along the edges of the surface you are scraping to act as a safeguard against accidental slips or scratches.
Work in small sections and clean the attachment regularly
To minimize fatigue and maximize efficiency, consider working in small sections when scraping or removing materials. Focusing on one area at a time allows you to maintain control and ensures a thorough removal process. Additionally, clean the scraping attachment regularly to remove debris or buildup, as this can affect its effectiveness and efficiency.
Plunge Cutting
Assess the material’s thickness and hardness
Before attempting a plunge cut, assess the material’s thickness and hardness. Understanding these characteristics will guide you in selecting the appropriate blade and adjusting the cutting depth. Harder materials may require stronger blades or slower cutting speeds, while thinner materials may necessitate shallower cutting depths.
Set the cutting depth accordingly
To achieve a precise and controlled plunge cut, set the cutting depth according to the material’s thickness. Most oscillating multi-tools feature depth adjustment mechanisms or depth stop guides that allow you to control the cutting depth. Adjusting the cutting depth enables the blade to penetrate the material without going too deep or not deep enough.
Make a starter hole or notch
To begin a plunge cut successfully, create a starter hole or notch that provides a reference point for your blade’s entry. This starting point helps guide your cut and prevents the blade from wandering or slipping. Use a drill or any other appropriate tool to create the initial hole or notch before using the oscillating multi-tool.
Slowly plunge the blade into the material
When making the actual plunge cut, maintain control and slowly guide the blade into the material. Apply light pressure and allow the blade to penetrate gradually. Rushing the process or applying excessive force may compromise the accuracy of the cut or lead to the blade binding in the material.
Maintain control throughout the process
Throughout the plunge cutting process, it is crucial to maintain control over the oscillating multi-tool. Ensure a firm grip on the tool’s handle and guide it steadily through the desired cutting path. Keep in mind that plunge cutting can create vibrations, so remain attentive and adjust your grip as needed to prevent discomfort or loss of control.
Maintenance and Care
Clean the tool after each use
After every use, it is essential to clean your oscillating multi-tool thoroughly. Wipe down the exterior surfaces with a clean cloth or sponge to remove dust, debris, or any other residue. Pay special attention to the vents and crevices where buildup may occur. Proper cleaning prevents the accumulation of materials that may impede the tool’s functionality or cause premature wear.
Inspect the blade or attachment for wear and damage
Regularly inspect the blade or attachment for signs of wear, damage, or any form of deterioration. Check for blunt teeth, cracks, chips, or any abnormalities that may compromise the tool’s performance or safety. If you identify any issues, replace the blade or attachment promptly to ensure optimal functionality and prevent accidents.
Replace worn-out parts
Oscillating multi-tool blades and attachments have a limited lifespan, and regular use can cause them to wear out over time. To maintain the tool’s reliability, replace worn-out parts when necessary. Follow the manufacturer’s recommendations for replacing blades and attachments, ensuring you have the correct replacement parts for your specific tool model.
Store the tool in a dry and safe place
Proper storage is crucial to maintain the longevity and performance of your oscillating multi-tool. After each use, wipe off any remaining moisture or debris and store the tool in a dry and safe location. Avoid exposing the tool to extreme temperatures or humidity, as these conditions can lead to damage or corrosion. Keeping the tool in a designated storage area also helps prevent accidents, especially if you have curious children or pets at home.
Regularly check and maintain battery health
If your oscillating multi-tool operates on batteries, it is vital to regularly check and maintain their health. Follow the manufacturer’s instructions regarding battery maintenance, including charging and storage procedures. Be mindful of any indicators that notify you of the battery’s remaining charge or status. If you notice any decline in performance or durability, consider replacing the battery based on the manufacturer’s guidelines.
Troubleshooting Common Issues
Tool not starting or losing power
If your oscillating multi-tool fails to start or loses power during use, several factors could be contributing to the issue. First, ensure that the tool is securely connected to a power source or that the battery is fully charged. Additionally, check the power switch, brushes, or any wiring for any signs of damage or malfunction. If the problem persists, consult the user manual or contact the manufacturer for further assistance.
Vibration or excessive noise
Excessive vibration or noise during tool operation can affect your comfort, precision, and potentially signal an underlying issue. Start by checking if the tool’s blade or attachment is securely fastened. Loose connections can result in increased vibrations and noise. If the problem persists, inspect the tool for worn-out parts, damaged components, or excessive debris buildup. Proper cleaning, maintenance, and, if necessary, replacement of parts should resolve the issue.
Blade not cutting efficiently
If you notice a decline in the cutting efficiency or performance of your blade, several factors may be affecting its effectiveness. Firstly, ensure that the blade is sharp and in good condition. Dull or damaged blades can lead to inefficient cutting and cause additional strain on the tool and the user. If the blade is in good condition, check if it is the appropriate type and teeth configuration for the material you are working on. Choosing the correct blade ensures optimal cutting performance.
Overheating or burning smell
Tool overheating or the presence of a burning smell is a cause for concern and requires immediate attention. Such symptoms may indicate a malfunctioning motor, excessive friction, or inadequate ventilation. Switch off the tool and allow it to cool down. Inspect the vents for any obstructions or debris that may be impeding proper airflow. If the issue persists, discontinue use and contact the manufacturer or a qualified technician for assistance.
Attachment not securely fastened
Working with a loose or improperly secured attachment poses a safety hazard and negatively impacts the tool’s performance. Before starting any task, check that the attachment is securely fastened to the oscillating multi-tool. If you notice any looseness or slippage during use, immediately turn off the tool and tighten the attachment. Regularly inspect the screw or fastening mechanism for wear or damage, replacing it if necessary.
