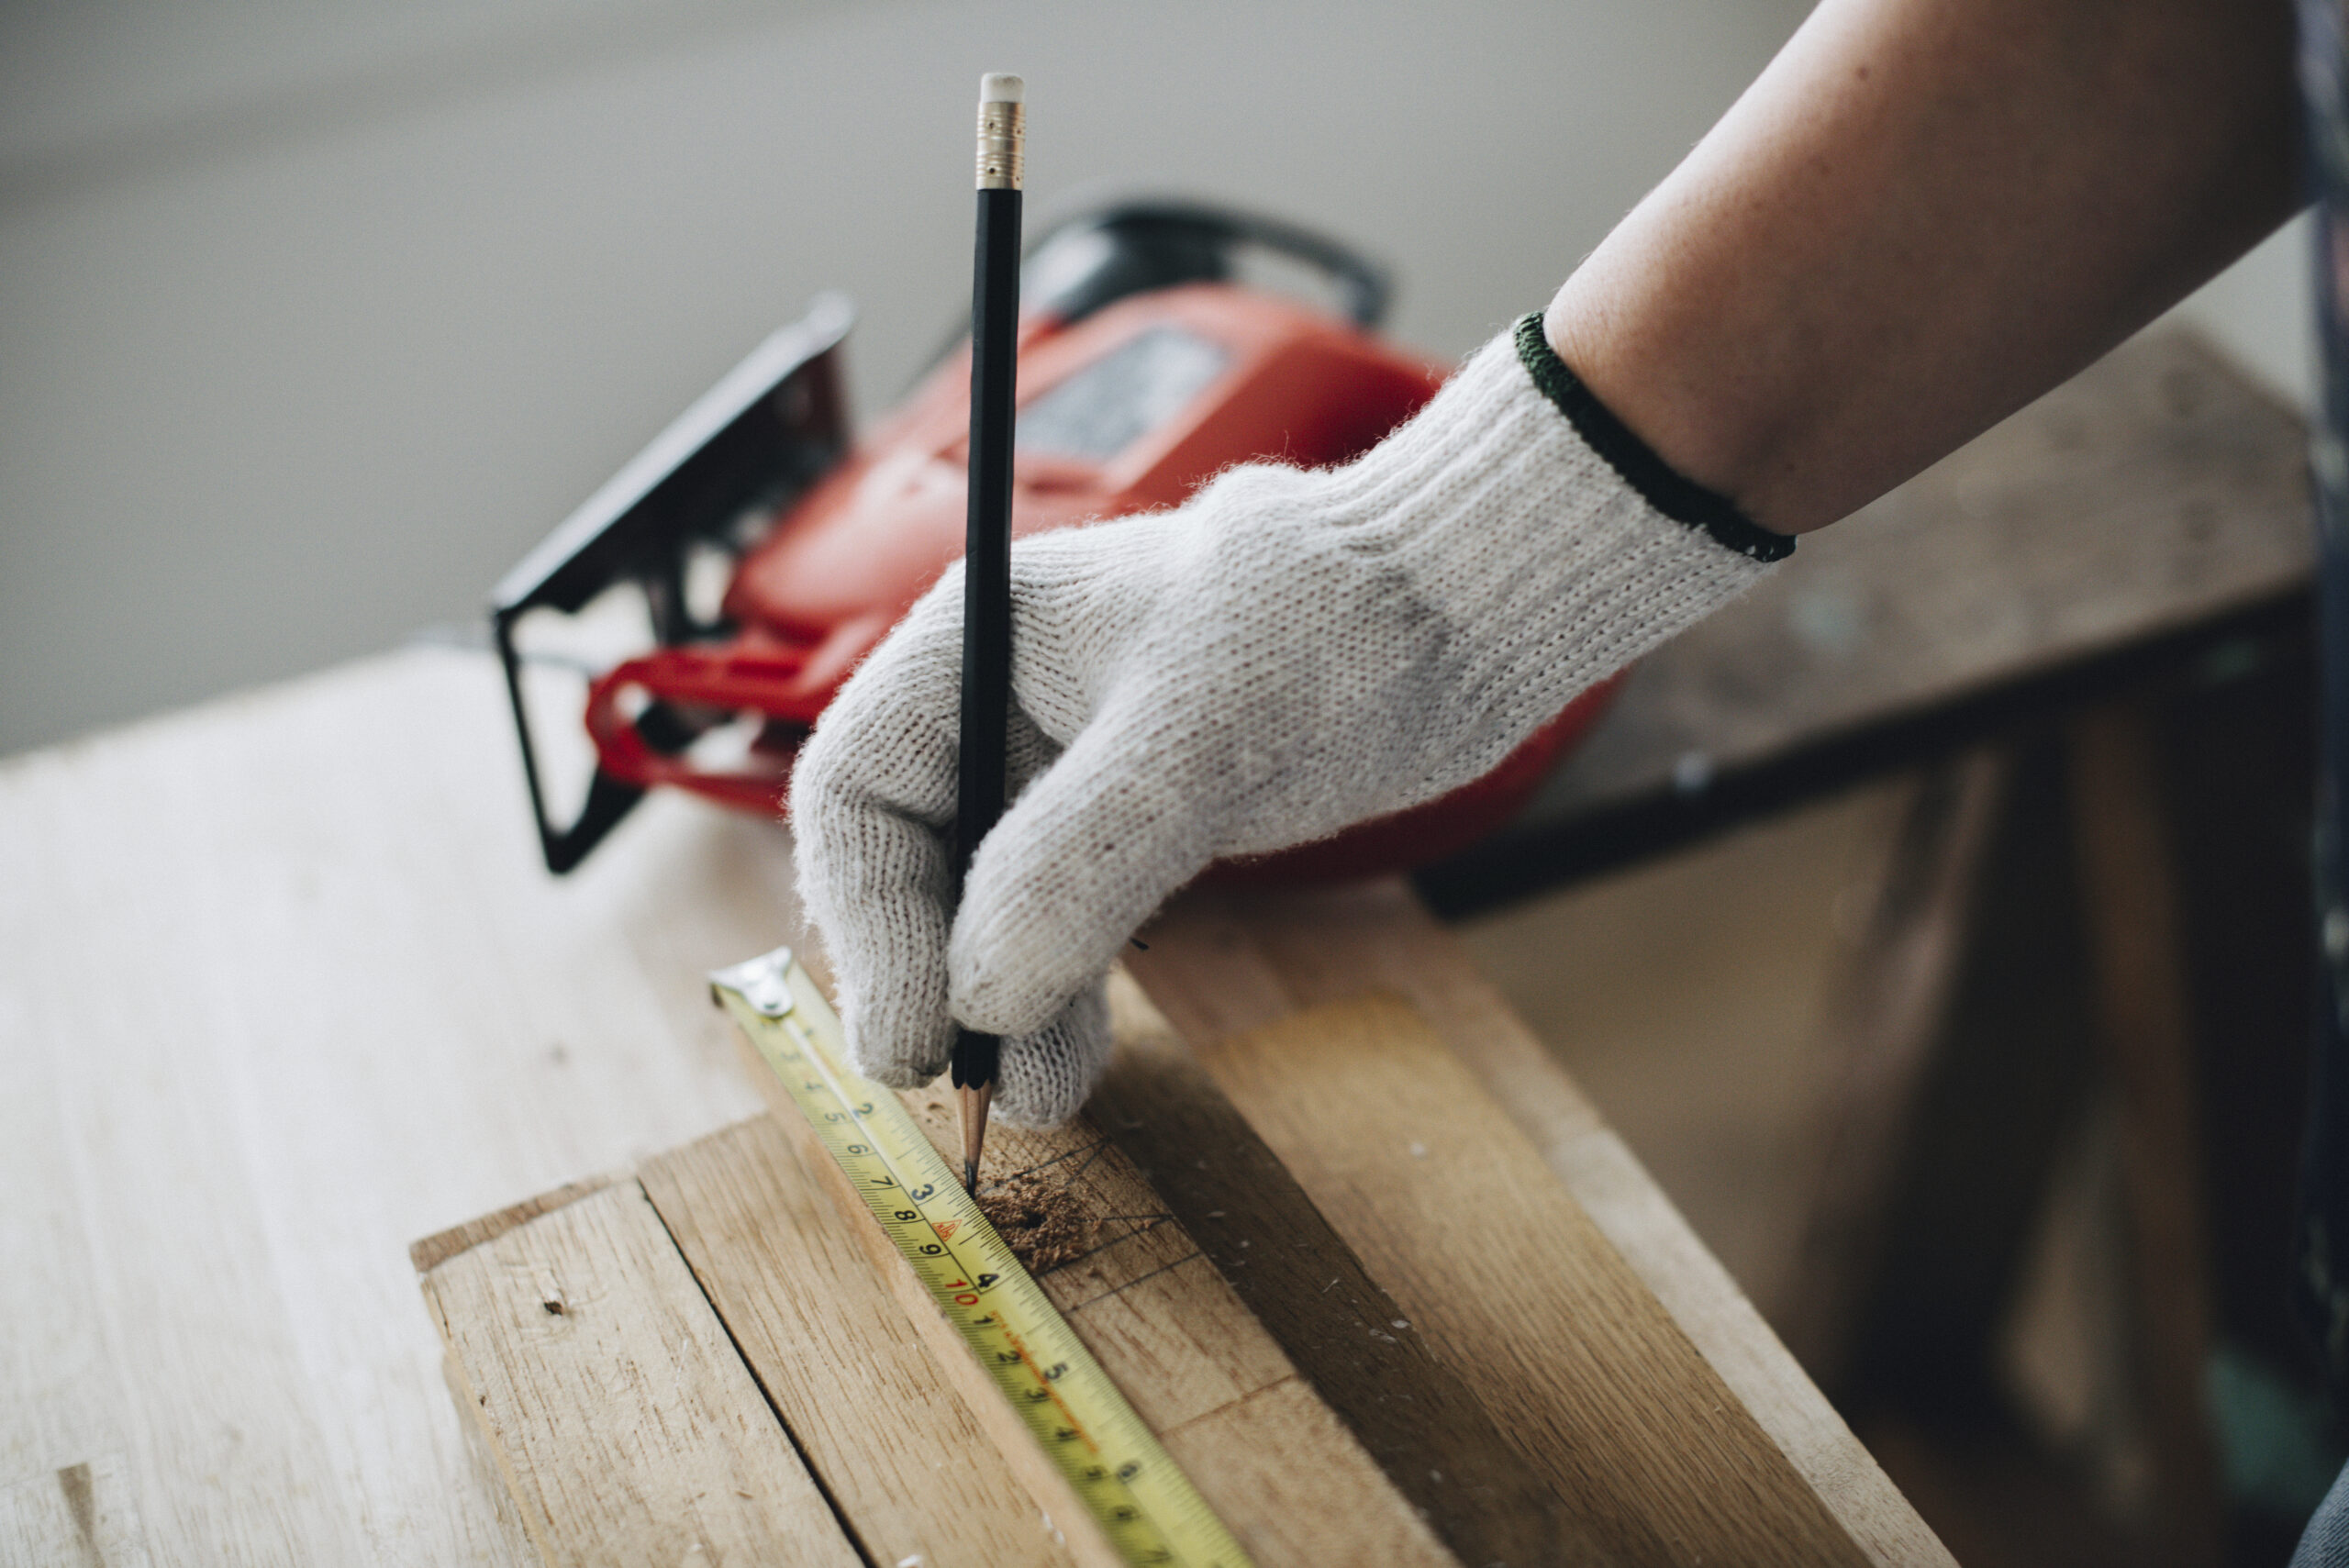
When it comes to measuring and cutting accurately, precision is key. Whether you’re working on a DIY project or a professional craftsman, getting the dimensions right is crucial. But how exactly do you ensure that your measurements are spot on and your cuts are clean? In this article, we’ll explore some practical tips and techniques to help you measure and cut accurately, giving you the confidence to tackle any project with precision and get the results you desire. So, grab your tape measure and let’s get started!
Choosing the Right Tools
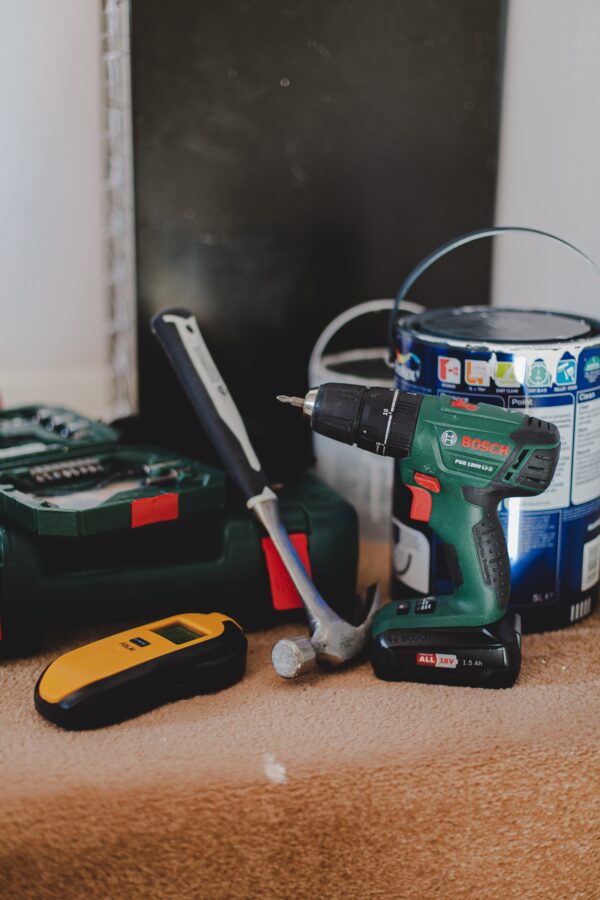
When it comes to completing any kind of measurement and cutting task accurately, having the right tools is essential. This section will guide you through the process of selecting the appropriate tools for your project.
Measuring Tools
There are several essential measuring tools that you should have in your toolbox. The most common ones include a tape measure, ruler, combination square, and a level. Each of these tools serves a specific purpose and can greatly assist you in achieving accurate measurements.
A tape measure is a versatile tool that allows you to quickly and easily measure distance, length, and height. It typically features a retractable metal blade with measurements marked on it. The flexibility and portability of a tape measure make it a staple in any DIY enthusiast’s toolkit.
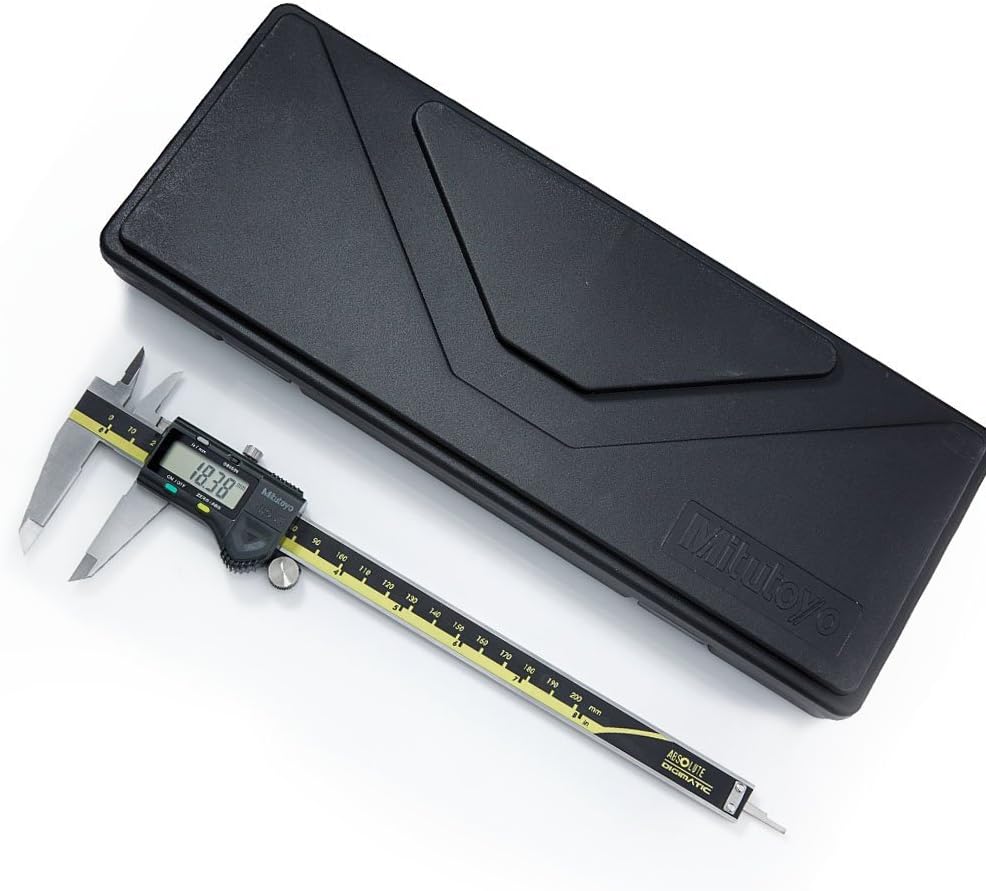
A ruler is another go-to measuring tool that provides precise measurements for smaller tasks. Unlike a tape measure, a ruler is usually made of a rigid material like plastic or metal. This makes it ideal for measuring straight lines and smaller distances accurately. Rulers come in various lengths, so choose one that suits your needs.
A combination square combines both a ruler and a 90-degree angle, making it a versatile tool for measuring and marking right angles. It consists of a ruler-like blade attached to a handle with a sliding head. The sliding head can be adjusted, allowing you to measure, mark, and check the squareness of corners and edges accurately.
Lastly, a level is crucial for ensuring that surfaces are perfectly horizontal or vertical. It typically consists of a long, straight body with a glass tube filled with liquid and an air bubble. The bubble should line up with the center mark for accurate leveling. Levels come in different sizes, so select one appropriate for your project.
Cutting Tools
Once you have precise measurements, it’s time to move on to the cutting stage of your project. Choosing the right cutting tools is crucial for achieving clean and accurate cuts. Here are a few essential cutting tools you should consider having in your toolbox.
Scissors are handy for cutting various materials such as paper, cardboard, and even fabric. They come in different sizes and styles, each designed for specific cutting tasks. Make sure to choose a pair that feels comfortable in your hand and has sharp blades for clean cuts.
For more heavy-duty cutting tasks, a utility knife is a versatile tool to have. It features a retractable blade that can be easily replaced when dull. Utility knives are great for cutting materials like carpet, foam, and vinyl, as well as for scoring and trimming drywall and insulation.
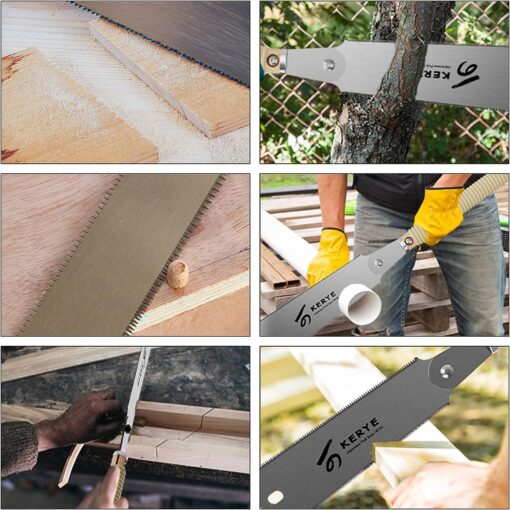
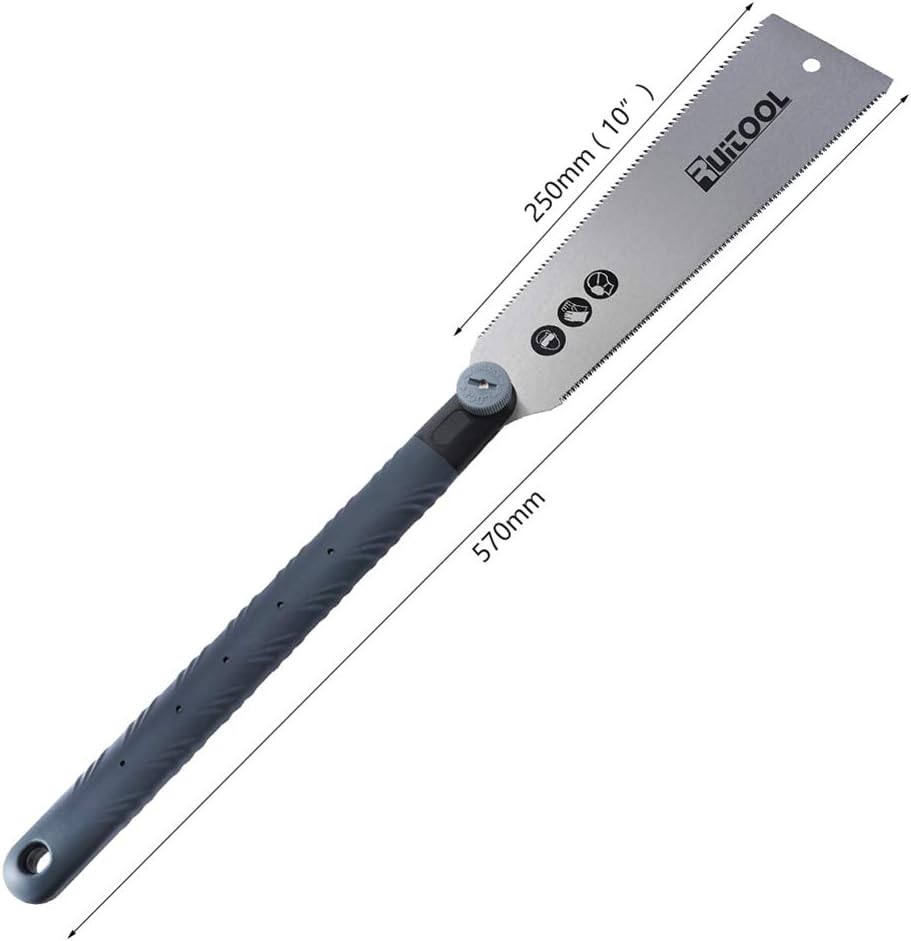
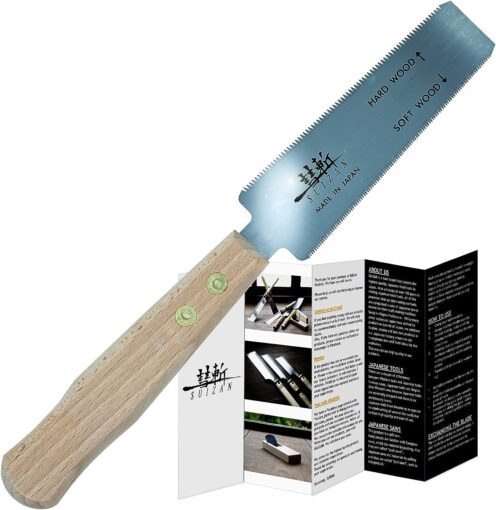
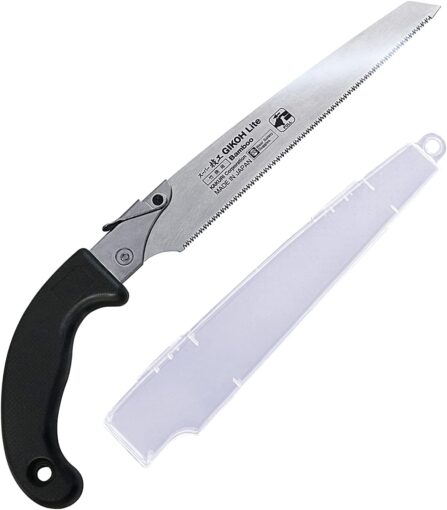
When working with wood, a handsaw is a traditional tool that allows you to cut through lumber easily. They come in different lengths and tooth configurations to suit various cutting needs. Be sure to choose a handsaw that is appropriate for the thickness of the wood you’ll be cutting.
If you need to make long, straight cuts in wood or other materials, a circular saw is a powerful tool to consider. It has a circular blade that spins rapidly to make precise cuts. Circular saws are commonly used in woodworking and carpentry projects, but make sure to use them with caution and follow all safety guidelines.
For more intricate woodworking tasks, a table saw is a valuable tool to have. It consists of a circular blade mounted on an arbor, which protrudes through the surface of a table. Table saws provide controlled and accurate cuts, making them a staple in professional workshops.
Now that you understand the importance of selecting the right measuring and cutting tools, let’s move on to the techniques you can use to ensure accurate measurements.
Measuring Techniques
Accurate measurements are crucial for any project, whether you’re building furniture, sewing clothes, or even just hanging a picture frame. This section will guide you through the different techniques you can use to achieve precise measurements.
Using a Tape Measure
Using a tape measure may seem straightforward, but there are a few techniques that can help you ensure accurate measurements. Start by holding the tape measure firmly against one end of the object or distance you want to measure. Extend the tape to its full length and hook the end onto the edge of the object. Make sure the tape is straight and not twisted. Read the measurement at the point where the tape extends beyond the object. For greater accuracy, consider using the markings on the tape that indicate fractions of an inch.
Using a Ruler
When using a ruler, it’s important to remember that precise measurements require careful alignment and attention to detail. Place the ruler flush against the edge of the object you want to measure. Make sure the ruler is positioned straight, and the zero mark aligns with the starting point of the measurement. Read the measurement where the ruler ends, keeping the ruler steady to avoid any discrepancies.
Using a Combination Square
Combination squares are versatile tools that can be used to measure and mark 90-degree angles accurately. To measure with a combination square, extend the ruler-like blade of the square and place it against the edge of the object you want to measure. Adjust the sliding head of the square until it rests against the other side of the object. Lock the sliding head in place and read the measurement on the ruler. This method ensures a precise measurement of right angles, which is crucial for carpentry and woodworking projects.
Using a Level
Using a level not only ensures that surfaces are level or plumb but can also assist in measuring. Start by placing the level on the surface you want to measure. Adjust the position until the air bubble in the level’s glass tube lines up with the center mark. Once the level is properly positioned, you can use the ruler markings on the level’s body to measure distances accurately. This technique is especially handy when working with walls or other vertical surfaces.
Now that you know how to measure accurately, let’s explore the various cutting techniques you can employ to achieve clean and precise cuts.
Cutting Techniques
Cutting materials with precision is essential for any project. Whether you’re cutting wood, fabric, metal, or paper, using the right cutting techniques can make all the difference. This section will cover some common cutting techniques and the tools associated with each.
Using Scissors
Scissors are versatile cutting tools suitable for a variety of materials. When cutting with scissors, it’s important to position the material correctly to achieve accurate cuts. Hold the material firmly in place, ensuring it doesn’t slip or shift during cutting. Align the blades of the scissors with the line or shape you want to cut and apply steady, even pressure. Use smooth, controlled movements to cut through the material, allowing the blades to do the work.
Using a Utility Knife
Utility knives are excellent tools for cutting through thicker or more resilient materials. To use a utility knife, retract the blade fully before positioning the material you want to cut. Hold the knife firmly and align the blade with the desired cutting line. With moderate pressure, make a series of shallow cuts, gradually increasing the depth until you have cut through the entire material. Take care to follow the line accurately, as utility knives don’t offer the precision of some other cutting tools.
Using a Handsaw
A handsaw is an essential tool for woodworking and other projects that involve cutting through wood. To use a handsaw, ensure that the material you’re cutting is securely clamped or firmly supported to prevent any movement. Grip the handle of the saw firmly and position it at the starting point of your cut. Apply gentle pressure and use long, steady strokes to guide the saw through the material. Maintain a consistent angle and let the teeth of the saw do the cutting. Take your time and avoid forcing the saw, as this can lead to inaccurate cuts and potential damage to the material.
Using a Circular Saw
Circular saws are powerful cutting tools that can make long, straight cuts in a variety of materials, including wood, metal, and plastic. When using a circular saw, be sure to read and follow the manufacturer’s instructions and safety guidelines. Secure the material you’re cutting firmly to a work surface, such as a sawhorse or workbench. Set the depth of the blade to an appropriate level, ensuring it protrudes slightly beyond the thickness of the material. Hold the saw with both hands and guide it along your cutting line using slow, steady movements. Allow the blade to do the cutting, and avoid pushing or forcing the saw through the material.
Using a Table Saw
Table saws are powerful stationary cutting tools commonly used in woodworking. They feature a circular blade mounted on an arbor, which protrudes through the surface of a table. To use a table saw safely and accurately, familiarize yourself with the specific safety features and operational guidelines provided by the manufacturer. Adjust the blade height and angle, if necessary, to achieve the desired cut. Place the material against the rip fence, which acts as a guide for straight cuts. Use the appropriate push stick or other tools provided to feed the material through the saw. Keep your hands clear of the blade and maintain control of the material as you cut, ensuring consistent and accurate results.
Once you’ve mastered the techniques for measuring and cutting accurately, it’s important to calibrate your tools regularly to maintain their accuracy.
Calibrating Tools
Even the most precise measuring and cutting tools can lose accuracy over time. Calibrating your tools regularly ensures that they are providing accurate measurements and cuts. This section will guide you through the process of checking the accuracy of common measuring and cutting tools.
Checking the Accuracy of a Tape Measure
To check the accuracy of your tape measure, find a known length, such as a standard ruler or a pre-cut piece of lumber. Extend the tape measure and compare the measured length to the known length. If they match, your tape measure is accurate. If there is a discrepancy, note the variance and adjust your measurements accordingly. Keep in mind that extreme temperatures and rough handling can affect the accuracy of a tape measure, so handle it with care.
Checking the Accuracy of a Ruler
To check the accuracy of a ruler, use a known length, such as a standard ruler or a pre-cut piece of lumber. Align the ruler with the known length and inspect if the markings on the ruler match up accurately. If there is a noticeable discrepancy, adjust your measurements accordingly or consider replacing the ruler. It’s always a good idea to have multiple rulers to cross-verify measurements and ensure accuracy.
Checking the Accuracy of a Combination Square
To check the accuracy of a combination square, compare the squareness of its 90-degree angle against a known square corner. Place the handle of the combination square against one edge of the known square corner, and the blade against the adjacent edge. Examine how well the two edges align. If they are perfectly square, your combination square is accurate. If there is any gap or misalignment, you may need to adjust or replace the combination square.
Checking the Accuracy of a Level
To check the accuracy of a level, place it on a known flat surface, such as a countertop or table. Ensure that the level is positioned properly and the air bubble lines up with the center mark. Rotate the level 180 degrees without moving the level itself. If the air bubble remains centered during the rotation, your level is accurate. If the bubble moves off-center, you may need to adjust or replace the level.
Now that you’ve learned how to choose the right tools, use measuring techniques correctly, master various cutting methods, and calibrate your tools, it’s time to explore additional techniques that can enhance accuracy.
Using Jigs and Guides
Jigs and guides are valuable tools and accessories that can greatly enhance your accuracy and precision when measuring and cutting. They provide support, stability, and consistent alignment, allowing you to achieve repeatable and accurate results. This section will cover three commonly used jigs and guides.
Using a Cutting Guide
A cutting guide is a tool that helps you make straight and accurate cuts over longer distances. It typically consists of a straight edge with measurement markings and a guide rail or clamps to secure it in place. To use a cutting guide, position it on the material you want to cut and align the cutting line with the measurement markings on the guide. Ensure that the guide is securely held in place, and use a cutting tool, such as a circular saw or a jigsaw, to follow along the guide and make the cut. The cutting guide ensures that your cuts are uniform, precise, and parallel to the desired line.
Using a Miter Gauge
A miter gauge is a versatile accessory commonly used with table saws and other cutting tools to make accurate angled cuts. It consists of a long arm with a pivoting head and an adjustable fence. To use a miter gauge, adjust the angle by loosening the locking mechanism and aligning it with the desired setting. Secure the material against the fence, ensuring that it is properly aligned and supported. Hold the material firmly in place and make the cut, guiding the material along the miter gauge arm. A miter gauge allows you to achieve precise angled cuts, such as miters and bevels, with ease.
Using a Rip Fence
A rip fence is a guide that helps you make long, straight cuts parallel to the edge of the material. It is commonly used with table saws and circular saws. To use a rip fence, adjust its position parallel to the desired cutting line. Ensure that the fence is securely locked in place and the material is held firmly against it. Make sure the material is properly supported and won’t bind as you cut. Once everything is set up correctly, guide the material through the cutting tool while keeping it firmly against the rip fence. The rip fence ensures that your cuts are consistent and parallel, allowing for accurate and efficient cutting.
Now that you have a few additional techniques up your sleeve, let’s explore different methods for marking your materials accurately.
Marking for Accuracy
Accurate marking is just as important as accurate measuring and cutting. It helps ensure that your cuts and other actions are precise and in the right place. This section will cover some common marking tools and techniques that can assist you in achieving accurate results.
Using Pencils and Marking Knives
Pencils are one of the most common and versatile marking tools, suitable for many materials. When marking with a pencil, make sure it is sharpened for fine, precise lines. Hold the pencil in a way that feels comfortable and provides control, and lightly draw your desired line or shape. For more delicate work or marking on sensitive materials like wood, a marking knife can be used instead of a pencil. A marking knife creates a thin, precise line that can be easily followed during cutting or other actions.
Using Chalk Lines
Chalk lines are excellent tools for marking straight lines over longer distances, such as when working with large pieces of wood or on flooring projects. To use a chalk line, secure one end of the line to your starting point, making sure it is taut. Hold the chalk box firmly in one hand and pull some of the line out. Position the chalk box at the other end of the line and snap the line against the material. The line will leave a temporary chalk mark, which serves as a guide for your cutting or other actions.
Using Layout Tools
Layout tools, such as squares, bevels, and protractors, can assist in marking precise angles and shapes. Squares help create perfect right angles, while bevels allow for marking and transferring angles other than 90 degrees. Protractors are useful for measuring and marking specific angles. When using these layout tools, ensure they are securely held in position, align them accurately with your desired angles or shapes, and make clear and definitive marks for reference during cutting or other actions.
Now that you know different methods for marking accurately, let’s explore how to approach measuring and cutting different materials.
Measuring and Cutting Different Materials
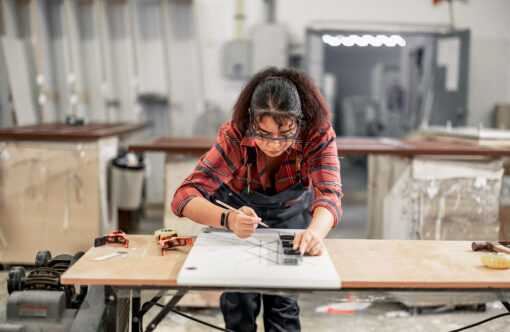
Measuring and cutting accurately extends to various materials, each with its own set of considerations. This section will cover some general tips for measuring and cutting wood, metal, fabric, and paper.
Measuring and Cutting Wood
When measuring and cutting wood, it’s essential to consider the type and thickness of the wood, as well as the specific project requirements. Start by measuring the wood using appropriate measuring tools, such as a tape measure or combination square. Be mindful of natural defects in the wood, such as knots or warping, and adjust your measurements and cuts accordingly. Use the appropriate cutting tool for your desired cut, whether it’s a handsaw, circular saw, or table saw. Secure the wood properly to a workbench or sawhorses to ensure stability while cutting. Always wear appropriate safety gear, such as safety glasses and gloves, and follow all safety guidelines recommended for the specific cutting tool.
Measuring and Cutting Metal
Measuring and cutting metal requires different tools and techniques compared to cutting wood. When measuring metal, use the appropriate measuring tools, such as a tape measure or ruler. Be aware of the type and thickness of the metal, as this may impact the cutting method you choose. For thin and relatively soft metals, a utility knife or tin snips may be suitable. Thicker or harder metals often require a saw, such as a hacksaw or reciprocating saw. To ensure accurate cuts, use a cutting guide or a suitable marking method to guide your cuts. When cutting metal, follow all safety precautions, including wearing gloves, safety glasses, and ear protection if necessary.
Measuring and Cutting Fabric
Measuring and cutting fabric requires a slightly different approach than other materials. When measuring fabric, it’s essential to start with a flat, wrinkle-free surface. Use a measuring tape or ruler designed for use with fabrics, as they provide more flexibility and accuracy. For straight cuts, consider using a fabric cutting tool, such as fabric shears or a rotary cutter with a cutting mat. If you need to cut curves or intricate shapes, consider using fabric scissors. Ensure that the fabric is securely held in place to prevent any movement during cutting, and double-check measurements to avoid mistakes. Always follow the specific instructions and best practices for cutting fabric, as different types of fabric may require specific techniques.
Measuring and Cutting Paper
Measuring and cutting paper requires precision and attention to detail, especially when working on projects that demand accuracy, such as scrapbooking or paper crafts. Start by measuring the paper using a ruler or paper trimmer designed specifically for cutting paper. Consider using a straight edge as a guide for straight cuts, ensuring that it is properly aligned with your desired cutting line. For more complex shapes, tracing templates or using cutting dies can help achieve accurate cuts. Take your time when aligning and cutting paper, as it is more delicate compared to other materials. Also, make sure to use suitable cutting tools, such as sharp scissors or craft knives, to avoid tearing or jagged edges.
Now that you have an understanding of how to measure and cut different materials accurately, let’s emphasize the importance of safety precautions.
Using Safety Precautions
Working with tools and sharp objects always carries the risk of injury. To ensure a safe and accident-free project, it’s crucial to follow proper safety precautions. This section will outline some essential safety measures to consider when measuring and cutting.
Wearing Safety Gear
Protecting yourself is essential when working with measuring and cutting tools. Always wear appropriate safety gear, such as safety glasses or goggles, to shield your eyes from flying debris and potential hazards. Wearing gloves can help protect your hands from cuts and other injuries. If you’re using power tools, consider using ear protection to prevent damage to your hearing. Additionally, consider wearing a dust mask or respirator if you’re working with materials that produce harmful dust or fumes.
Securing Your Workpiece
Properly securing your workpiece is crucial to prevent it from slipping or moving during cutting or measuring. Use clamps, vice grips, or other suitable methods to secure the material firmly to a workbench or other stable surface. This ensures stability and reduces the risk of accidents while you work. Always adjust and reposition the material as necessary to maintain a secure grip throughout the process.
Using a Saw Stop
If you’re using a table saw or other power cutting tools, consider investing in a saw stop mechanism. A saw stop is a safety feature designed to instantly stop the blade when it makes contact with flesh, preventing severe injuries. This device can be a valuable addition to your workshop, providing an extra layer of protection and peace of mind. Ensure that you read and follow the manufacturer’s instructions for installing and operating a saw stop to ensure its effectiveness.
Now that you’re aware of the safety precautions, let’s discuss the importance of double-checking measurements and how to remedy any mistakes.

Double-Checking Measurements
Even the most experienced individuals can make measurement mistakes. Double-checking your measurements is an essential step to avoid costly errors and waste of materials. This section will provide guidance on verifying measurements and solutions for correcting mistakes.
Verifying Measurements
Before making any cuts or proceeding with your project, it’s crucial to verify your measurements. One effective technique is to measure twice, cut once. Take a second measurement of the same distance, angle, or size to ensure consistency and accuracy. Compare the second measurement to the first, and if they match, you can proceed with confidence. If they don’t match, re-evaluate your measurements, check for any errors, and take additional measurements if necessary. Double-checking your measurements can save time and material by preventing mistakes before they happen.
Remedying Measurement Mistakes
If you discover a measurement mistake after cutting or taking other actions, don’t panic. Mistakes happen, but there are often remedies available to correct or salvage the situation. For larger errors, consider adjusting your project plan to accommodate the mistake. This may involve altering dimensions, creating a workaround, or starting over entirely. For smaller errors, you may be able to use materials like filler or trim to conceal or compensate for the mistake. In some cases, the mistake may only be noticeable to you, and you can choose to accept it and move forward. Remember, mistakes are valuable learning opportunities that can contribute to your growth as a craftsman.
Lastly, let’s discuss two critical elements that can greatly improve your accuracy – practice and patience.
Practice and Patience
Accurate measuring and cutting are skills that develop over time with practice and patience. The more you practice, the better your accuracy will become. Allow yourself the time and space to make mistakes and learn from them. As you gain experience, you’ll start to develop a better understanding of your tools and materials, enabling you to achieve more consistent and precise results.
Improving Accuracy with Practice
Make a conscious effort to practice your measuring and cutting techniques regularly. Start with smaller, less complex projects to build your confidence and skills. As you become more comfortable, gradually tackle more challenging projects that require higher accuracy. Consider experimenting with different materials and tools to expand your knowledge and repertoire. With practice, you’ll become more adept at handling your tools, measuring accurately, and making clean cuts.
Taking Your Time to Ensure Accuracy
Rushing through measurements and cuts can lead to costly mistakes and inaccurate results. Take your time and approach each step with patience and care. Ensure that your measuring and cutting tools are properly prepared and calibrated. Double-check your measurements before proceeding with any cuts or actions. Avoid distractions and create an environment that allows you to focus entirely on the task at hand. By taking your time and maintaining attention to detail, you’ll greatly enhance your accuracy and increase the overall quality of your work.
Remember, accurately measuring and cutting are skills that can always be improved, regardless of your experience level. The more you practice, the more confident and proficient you’ll become. So, embrace the learning process, be patient with yourself, and enjoy the journey as you develop your measuring and cutting skills.

