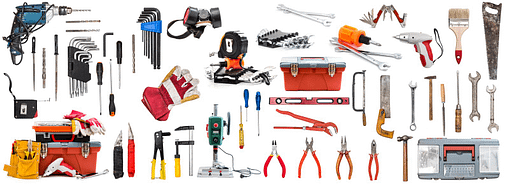
So, you’ve just completed a DIY project and now you’re faced with the aftermath: a messy workspace and tools in need of a good scrub. But where do you even begin? In this article, we’ll guide you through the process of cleaning up after your DIY endeavors. From tidying up the workspace to properly maintaining your tools, we’ve got all the tips and tricks you need to ensure a smooth and efficient cleanup. So, roll up your sleeves and let’s get started!
Gather Your Cleaning Supplies
Before you begin the post-DIY cleanup process, it’s important to gather all the necessary cleaning supplies. Here are some essential items you’ll need:
Trash bags
First and foremost, you’ll need plenty of trash bags to dispose of the waste materials generated during your project. Make sure to choose sturdy bags that won’t easily tear or leak.
Rubber gloves
To protect your hands from any potential hazards or harsh cleaning solutions, it’s advisable to wear a pair of rubber gloves. They will provide a barrier between your skin and any chemicals or debris you encounter.
Cleaning solutions
Having the right cleaning solutions on hand is crucial for an effective cleanup. Depending on the surfaces you need to clean, you may need different types of solutions such as all-purpose cleaners, glass cleaners, disinfectants, or stain removers.
Microfiber cloths
Microfiber cloths are an excellent choice for cleaning various surfaces. They are soft, absorbent, and won’t leave behind lint or streaks. Keep a few microfiber cloths handy to wipe away dust and grime.
Dispose of Waste Materials
Now that you have gathered your cleaning supplies, it’s time to tackle the disposal of waste materials from your DIY project.
Separate recyclables
As an environmentally conscious individual, you should separate recyclable materials from the rest of the waste. Items such as plastic bottles, cardboard boxes, and metal cans can be sorted into the appropriate recycling bins.
Dispose of hazardous materials properly
Some DIY projects may involve the use of hazardous materials like paint thinners, solvents, or chemicals. It’s crucial to dispose of these materials responsibly to protect both your health and the environment. Check with your local waste management facility or recycling center for guidelines on how to dispose of these hazardous substances.
Bag and seal non-recyclable waste
Any waste that cannot be recycled, such as broken materials or soiled rags, should be bagged and sealed properly. This prevents any potential spills or odors and makes it easier to transport the waste to the designated disposal areas.

Clean Up Dust and Debris
Once the waste materials are safely disposed of, it’s time to tackle the dust and debris leftover from your DIY project.
Use a broom or vacuum to sweep up loose debris
Start by using a broom or vacuum cleaner to sweep up any loose debris from the floors and surfaces. Pay extra attention to corners and hard-to-reach areas where dust and dirt tend to accumulate.
Wipe surfaces with a damp cloth to remove dust
To eliminate dust residue from surfaces like countertops, shelves, or furniture, take a damp cloth and wipe them down thoroughly. Microfiber cloths work well for this task as they trap dust particles effectively.
Clean vents and filters
Don’t forget to clean your vents and filters. Over time, dust and debris can accumulate in these areas, affecting airflow and potentially reducing the efficiency of your HVAC system. Use a vacuum cleaner or a damp cloth to remove any dust build-up and ensure proper ventilation.
Clean Tools and Equipment
Next on your cleaning checklist is taking care of your tools and equipment.
Remove any excess paint or adhesive
If you’ve been working with paint or adhesive during your DIY project, it’s essential to remove any excess residue from your tools. Use a scraper or a cloth to wipe off the remaining paint or adhesive before it dries. This will make it easier to clean them thoroughly.
Wash brushes and rollers with appropriate cleaners
To ensure the longevity of your paintbrushes and rollers, clean them properly after each use. Depending on the type of paint you’ve been working with, use the appropriate cleaner or soap to remove any residue. Rinse them thoroughly and allow them to dry completely before storing.
Clean power tools and store them properly
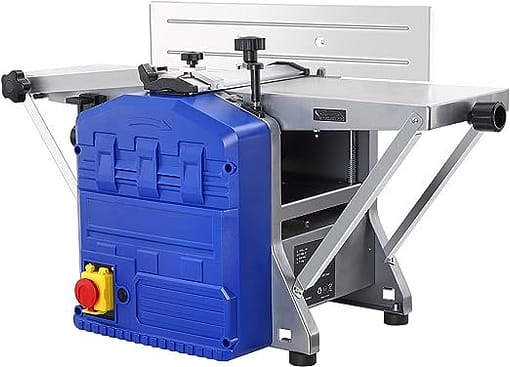
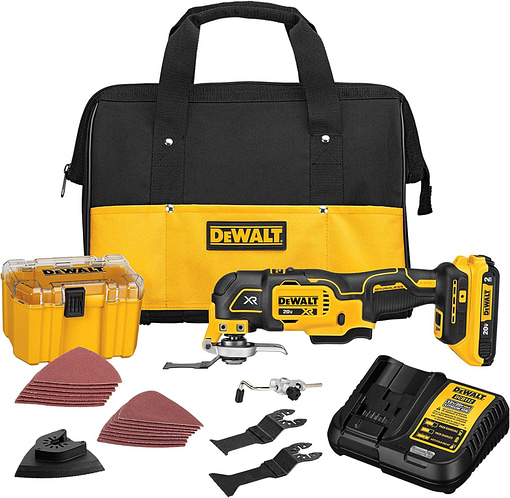
Power tools often require more in-depth cleaning. Start by disconnecting them from power sources and removing any accumulated dirt and debris. You can use a combination of a brush, compressed air, and a damp cloth to clean the surfaces. Remember to follow the manufacturer’s instructions for cleaning and maintenance. Once cleaned, store your power tools in a clean, dry area to prevent any damage or rust.

Clean Paint Spills and Stains
Accidental paint spills or stains are common during DIY projects. Here’s how you can effectively clean them up.
Absorb excess paint with paper towels
If you encounter a fresh paint spill, act quickly to absorb as much paint as possible before it dries. Place paper towels or absorbent cloths over the spill and gently press down to soak up the excess paint. Avoid rubbing or spreading the paint further.
Use appropriate cleaner based on paint type
Once you’ve absorbed the excess paint, choose a suitable cleaner based on the paint type. For water-based paints, a mild detergent mixed with water can often do the trick. Oil-based paints may require a specialized paint thinner or solvent. Apply the cleaner directly to the stained area and let it sit for a few minutes to loosen the paint.
Scrub and rinse the affected area
Gently scrub the stained area using a cloth or sponge. Be cautious not to damage the underlying surface. Rinse the cloth or sponge frequently and continue scrubbing until the stain is removed or significantly lightened. Finally, rinse the area with clean water and wipe it dry.
Wash and Declutter Workspaces
A clean and organized workspace improves efficiency and safety. Here’s how to get it back in order.
Clear clutter and put tools away
Start by clearing away any remaining clutter or debris from your work area. Return tools to their proper storage locations and gather loose materials into bins or containers. A clutter-free workspace not only looks better but also reduces the risk of accidents.
Wipe down work surfaces with disinfectant
After decluttering, wipe down your work surfaces with a disinfectant cleaner. This will help sanitize the area and remove any lingering bacteria or germs. Pay attention to areas where food or personal items might have come into contact. Regularly cleaning your workspace promotes a healthy and hygienic environment.
Organize materials and supplies
Take a few extra minutes to organize your materials and supplies. Store them in labeled containers or cabinets, making it easier to find what you need for future projects. This not only keeps your workspace tidy but also ensures that your materials remain in good condition for the next DIY endeavor.
Clean Windows and Mirrors
Cleaning windows and mirrors will give your space a polished finish. Follow these steps for streak-free results.
Use glass cleaner and a microfiber cloth
Select a high-quality glass cleaner that is suitable for the type of windows and mirrors you have. Spray the cleaner onto the surface and then use a microfiber cloth to wipe it clean. Microfiber cloths are effective at capturing dirt and preventing streaks.
Wipe in a circular motion to avoid streaks
To achieve a streak-free finish, wipe the glass surfaces in a circular motion. This helps to evenly distribute the cleaner and prevents streaks or smudges. Be thorough in your cleaning, paying attention to both the corners and edges of the windows or mirrors.
Clean both sides of the glass
Don’t forget to clean both sides of the glass. Dust and dirt can accumulate on the outer surface as well as the inside. By cleaning both sides, you’ll ensure clear and spotless windows or mirrors that let in maximum light.
Clean Floors
Cleaning the floors is an essential part of the post-DIY cleanup process. Follow these steps to bring back the shine to your surfaces.
Sweep or vacuum the floor to remove debris
Begin by sweeping or vacuuming the floor to remove any loose debris, such as dust, wood shavings, or plaster particles. Pay close attention to corners and hard-to-reach areas that tend to collect dirt.
Mop or scrub the floor with appropriate cleaner
Choose the appropriate cleaner for your type of flooring, such as a neutral floor cleaner for hardwood or laminate, or a specialized grout cleaner for tiled floors. Follow the directions on the cleaner and use a mop or scrub brush to clean the floor thoroughly.
Pay attention to grout lines and corners
If you have tiled floors, don’t forget to pay extra attention to the grout lines. Grout can easily accumulate dirt and stains over time. Use a grout brush or an old toothbrush along with a mild grout cleaner to scrub away any grime. Pay attention to corners and edges where dirt tends to accumulate.
Clean Furniture and Upholstery
Cleaning furniture and upholstery will freshen up your space and remove any lingering dust or debris.
Vacuum upholstery to remove dust and debris
Before you start cleaning, use a vacuum cleaner with an upholstery attachment to remove any loose dust or debris from your furniture. Pay close attention to crevices, tufts, and cushions where dirt can often accumulate.
Wipe down furniture with appropriate cleaner
Choose a cleaner that is suitable for the type of furniture you have. Wood furniture may benefit from a specialized wood cleaner or a solution of mild soap and water. For upholstered furniture, check the manufacturer’s instructions or use a fabric cleaner designed for the specific material. Always spot-test any cleaner on a small, inconspicuous area before applying it to the entire piece.
Remove stains using stain removers or steam cleaning
If your furniture has any stubborn stains, there are various methods to remove them. Stain removers specifically made for upholstery can be effective for removing most stains. Alternatively, steam cleaning can also be a great option for deep cleaning and stain removal. Follow the instructions on the stain remover or steam cleaner and work on the stains until they disappear or lighten significantly.
Dispose of Leftover Materials
Once your DIY project and cleaning are complete, it’s important to properly dispose of any leftover materials.
Organize leftover materials for future use
If you have any materials or supplies leftover from your project, consider organizing and storing them for future use. Keep them in labeled containers or designated areas, making it easier to find and utilize them on your next DIY endeavor. Proper organization saves you time and money in the long run.
Donate or recycle materials if possible
If you have excess materials that you can’t foresee using in the future, consider donating them to local nonprofit organizations, schools, or community centers. You can also check if any recycling centers accept certain materials for recycling, reducing the environmental impact of your project.
Properly dispose of any hazardous materials
For any leftover hazardous materials that cannot be reused or recycled, it’s crucial to dispose of them properly. Check with your local waste management facility for guidelines on how to safely dispose of these substances. It’s essential to protect both yourself and the environment from potential harm.
With these comprehensive steps, you should now have a clean and organized space after your DIY project. Enjoy the satisfaction of a job well done, knowing that you’ve taken care of both the creative process and the necessary cleanup.


